Step 2: Select a Web Hosting Provider and Register a Domain Name for Free
There are hundreds of companies that sell web hosting services and tons of companies that allow you to register a new domain name. But wouldn’t it be more convenient to choose a company that offers you both services?
Case in point: Hostinger.
This web hosting provider is reliable, beginner-friendly, cheap, AND gives you a domain name for free—take it from someone who has created many websites for his clients in his career.
Just head to the Hostinger website using this link, click Start Now, and then click Select under the WordPress Starter plan. That’s the most affordable hosting package that includes a free domain.
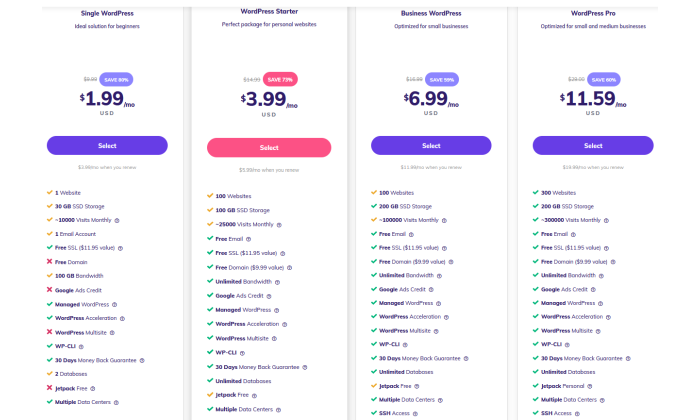
On the checkout screen that follows, make sure you select the four-year term to get the best monthly rate for this plan.
After you create your Hostinger account and submit your payment information, Hostinger’s guided setup wizard takes over.
It will ask you a few quick questions about the purpose of your website and your comfort level with building one.
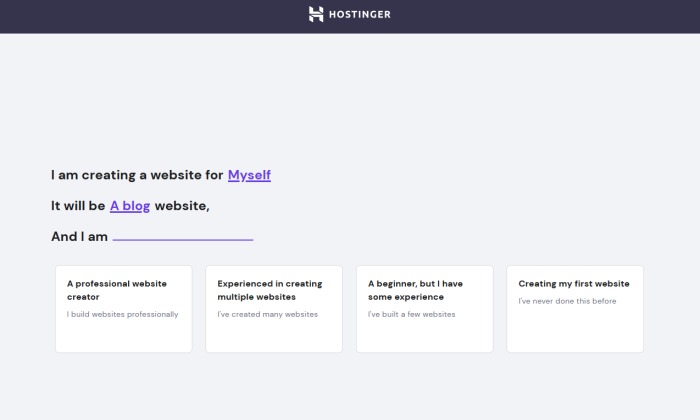
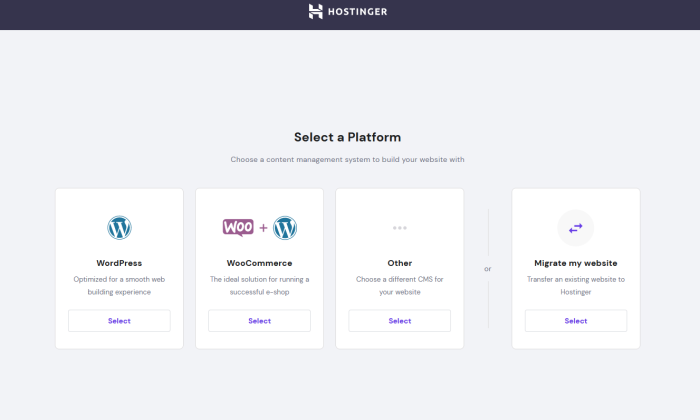
After that, select WordPress as your platform of choice. Hostinger will take care of installing it for you.
Hostinger will even let you pick a theme at this point, but you can just skip that step since we’ll find a good theme later on in this guide.
You’re almost done now! The last step is securing your free domain.
The next screen will give you the choice to get a new domain or use an existing one that you already own. Click the option on the left and a little box will appear that allows you to search for you domain name.
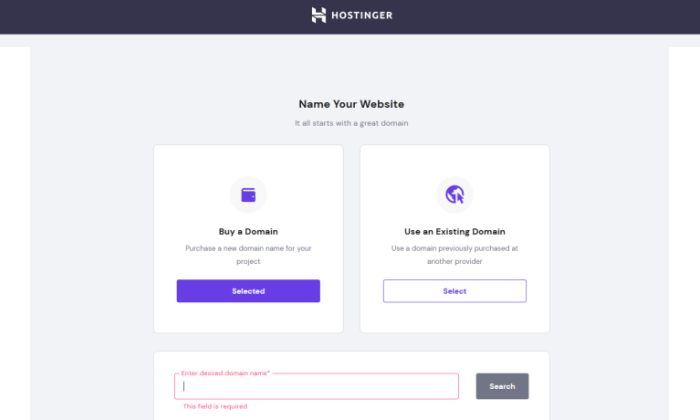
Since we did all the legwork in Step 1 of finding an available domain, just enter it into the box and select it when it appears.
There’s one important thing to keep in mind here. I highly recommend opting for WHOIS Privacy for $10/year. It conceals personal information like name, email, and phone number from appearing in public databases. After all, spending a few extra cents is nothing when it comes to security.
The option to add it on will be right below your selected domain. Just finish checkout there and you’re all done!
Hostinger will take a few minutes to finish the WordPress installation and set up your sites.
Once that’s done, Hostinger will take you to your dashboard. You’ll be greeted by this screen the first time you visit it after initial setup:
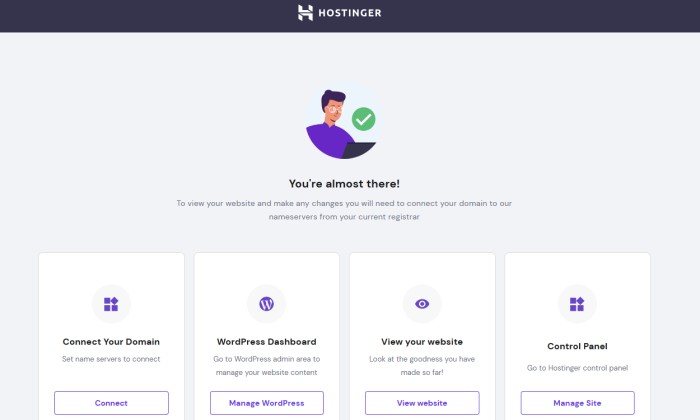
Click Manage WordPress and you’ll be whisked away to the WordPress dashboard.
There, you can see what WordPress version has been installed.
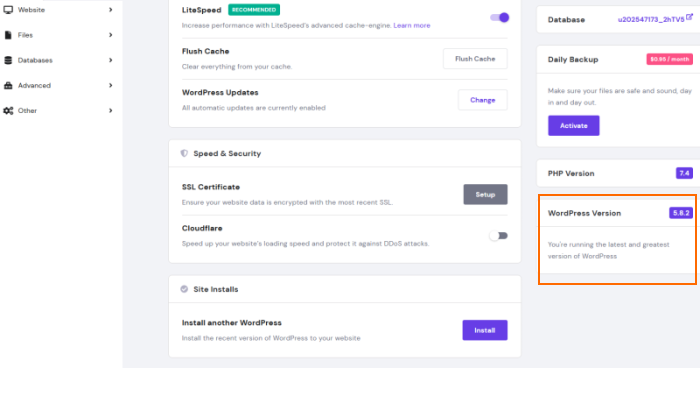
You can even do a fresh installation of WordPress in the same area.
So, you’ve got your hosting and domain secured and a WordPress site ready to go! Now it’s time to make it your own.
Comments